How to Land a WARDOGS Mortar Shot on the First Try
Guessing the range costs you a shell and tells the enemy exactly where you are. There is a way to know the number before you fire, and it takes about fifteen seconds.
By Danai
Sep 15, 2026 · Early Access
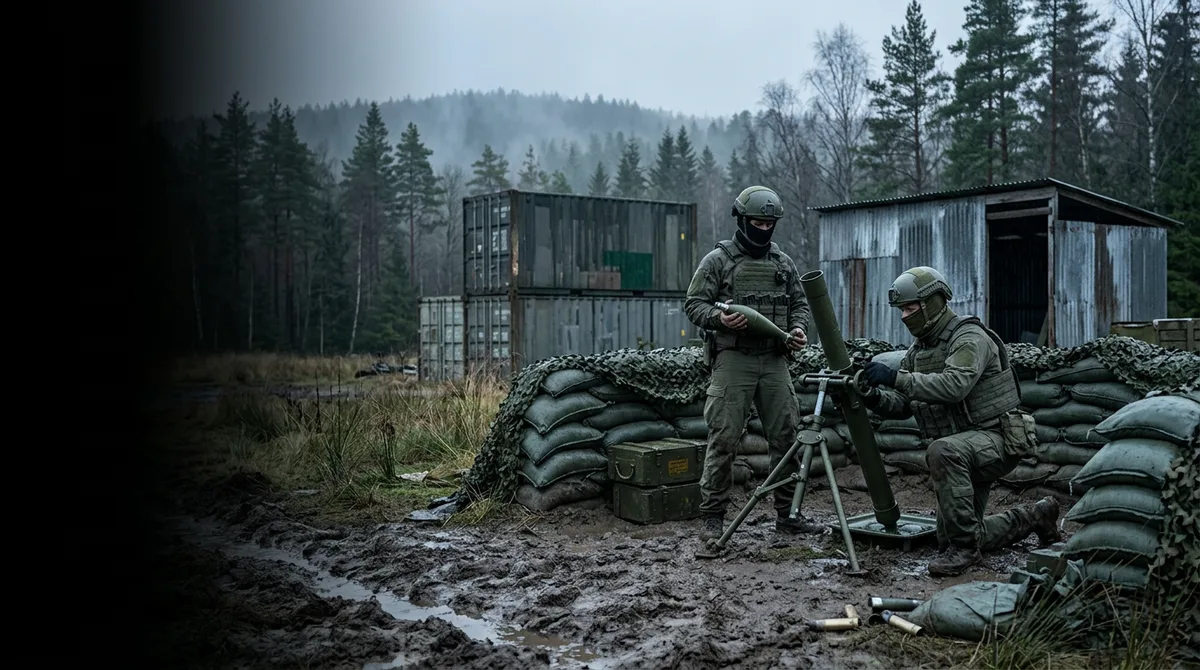
The mortar is the most obnoxious thing you can build in your first hour of WARDOGS, and almost nobody aims it properly. You swivel it around, guess a range off the little ladder on the left, fire, watch the shell land two hundred metres from anything, and now the enemy knows there is a mortar and roughly where.
There is a way to know the exact range before the first shell leaves the tube. SwoleBenji worked it out and published it on Early Access launch day. The method is his and I am not going to pretend otherwise. What I can add is the maths written down in an order you can follow while the game is running, because he does it on a whiteboard mid-match and it moves fast.
Get the two coordinates
The game will tell you exactly where anything is, which is the part most people never touch. On the map, right click your own mortar and choose Mark coordinates. That opens the chat box with the coordinates already typed. Hold Ctrl and press A to select it, then Ctrl and C to copy, and paste it somewhere you can read: a browser tab, a notes window, anything.
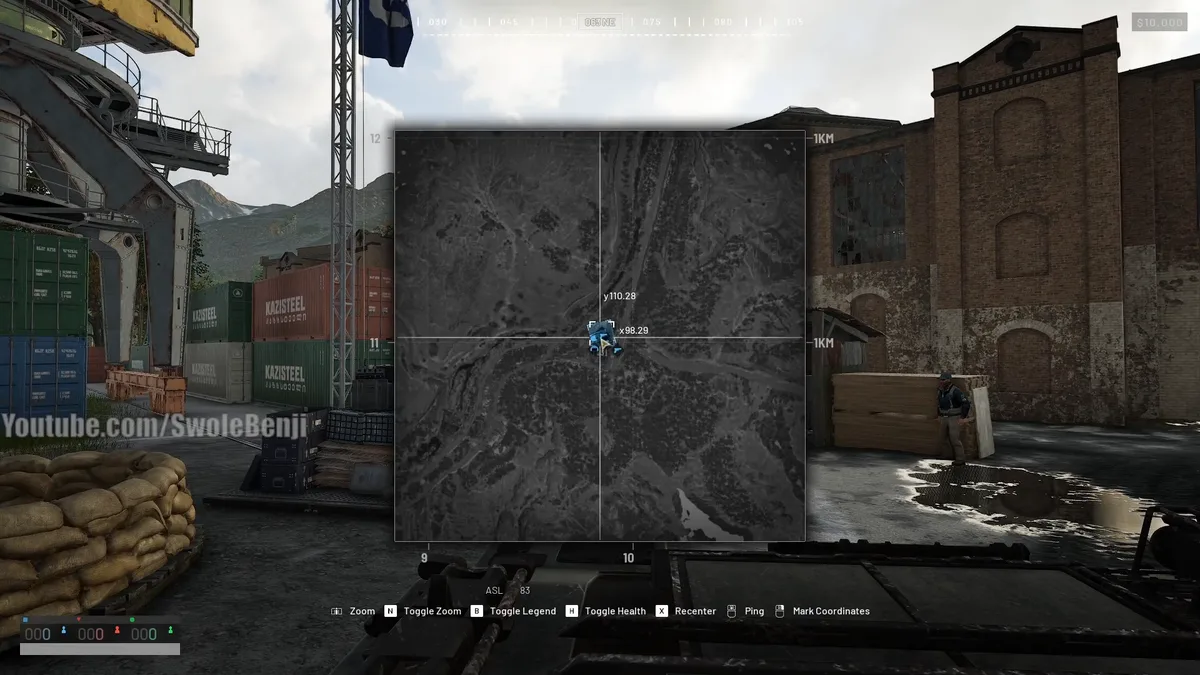
Do the same on the target. Those two pairs are everything. Call your position A and the target B. The grid numbers around the edge are kilometres, which is the clue to the step everyone gets wrong further down.
The maths, once
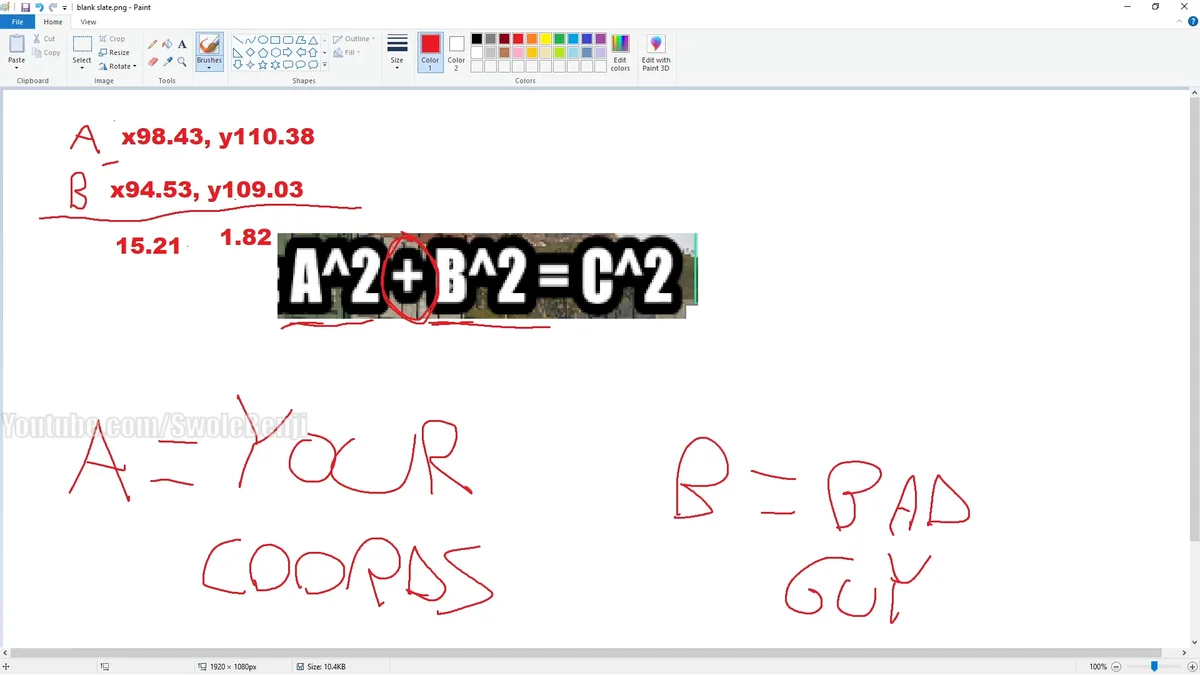
It is Pythagoras, which sounds worse than it is. Subtract the two X values and square the result, subtract the two Y values and square that, add them, take the square root. The coordinates are in hundreds of metres, so the number you get is your range once you multiply by 100. That last step is the one that trips people up, because the video never says it outright, it just reads the first three digits off the calculator.
Here is his own example, step by step:
| Your mortar (A) | 98.43, 110.38 |
| The target (B) | 94.53, 109.03 |
| Subtract the X values | 98.43 - 94.53 = 3.9 |
| Square it | 3.9 x 3.9 = 15.21 |
| Subtract the Y values | 110.38 - 109.03 = 1.35 |
| Square it | 1.35 x 1.35 = 1.82 |
| Add the two squares | 15.21 + 1.82 = 17.03 |
| Square root of that | 4.13 |
| Multiply by 100 for metres | 413 m |
He says in the video that he would like someone to build a page that does this for you. So we did: paste the two coordinates into the mortar calculator and it gives you the range with the working shown. The maths above is still worth reading once, because you will not always have a tab open.
About 412 metres, and it took one calculator and fifteen seconds. In the video he reads it as 412 by taking the first three digits off 4.1267, where rounding properly gives 413. The exact figure is 412.7, so either number lands you in the same place: the range ladder steps in tens and you are eyeballing between its marks anyway. Worth knowing only so the calculator below does not look like it disagrees with him.
Now put it on the target
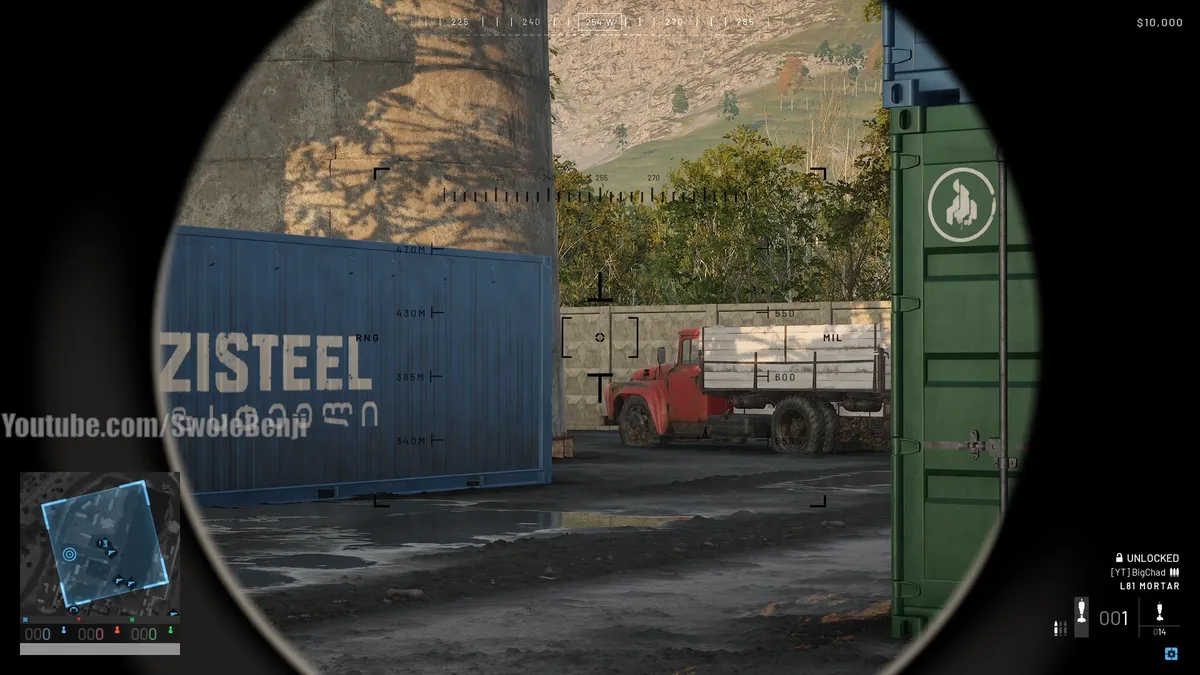
Middle click the target on the map to drop a white diamond marker. Get on the mortar and swivel until the diamond is on your screen, then centre your aimer on it. The diamond can sit higher or lower than your aimer, that does not matter, you are only lining up the direction.
The ladder down the left of your screen marked RNG is range, not the other thing. It prints fixed steps, so on a 412 metre shot you will be sitting between the 385 and the 430 marks and you want to be nearer the 430. Line it up, fire, and you are on target with the first shell.
How far each tube actually reaches
Worth knowing before you do any of the above, because half the targets people try to range are not reachable. These are his recorded figures from the launch build, not ours:
| Tube | Minimum | Maximum |
|---|---|---|
| L81 mortarBuildable in your first hour. Holds three loaded shells. | None stated | about 600 to 700 m |
| Artillery tankA much larger blast radius, and a reload quick time event. | about 750 m | 2,630 m |
The artillery is a different weapon in every sense. It cannot shoot anything close to you, it reaches most of the way across a map, and the blast radius is big enough that being a little off still kills people.
Three shells, and the button nobody presses
The mortar holds three loaded shells. Press C to skip the kill cam after each shot, which is what lets you fire all three in sequence rather than watching an animation between each one. You can also reload during the kill cam, so on the third shell you can be loading the next three. That is how you keep a base under constant fire.
If you want to bombard rather than snipe, fire all three with a small aim adjustment between each. If you want to actually hit one thing, do the maths once and use one shell.
The lazy version, and why it costs you
There is a version without a calculator. Zoom the map out until the 100 metre grid lines appear, count the squares to your target, and set that range. In the video it takes three shells to get close, and he says the obvious thing about that: every shell that misses tells the enemy a mortar is firing and roughly from where. On a bombard that is fine. On a single target it is the worst of both.
One thing I could not check
The range figures above are his readings off the launch build, and Bulkhead publishes no official numbers for either tube, so nothing here corroborates them the way our weapon stats are corroborated. Treat the 600 to 700 and the 2,630 as a working guide rather than a specification. The method itself does not depend on them: the coordinates come from the game, and the arithmetic is arithmetic.
Statistical data is based on external APIs and publicly available information. It may differ from official data.